Fly Tying 101 One Man's Experience
I have clumsy fingers. My penmanship today would get me an Unsatisfactory in elementary school. I lack fine motor skills — primarily because I rarely use them except to tie a fly on to some 6x tippet. Despite this limitation, though, and despite the chance that I was setting myself up for some good-natured ribbing or worse from the guys at the shop, I decided to attend a couple of fly tying classes at Angler’s Covey over the past several weeks. So, how did I do and what was the experience like?
Sitting down at the vise the first few times is a little intimidating. Before you even get to the materials for building the fly, you see the small array of tools necessary for the task: The vise itself to hold the fly. Scissors. A wishbone-shaped tool that holds the bobbin of thread. A very unique looking tool used at the end of the process to do a “whip finish” (appropriately enough it’s called a “whip finish tool”). And, of course, that one tool we all come with: our own fingers and hands. Mine were, I have to admit, a little sweaty, a little tense, as I prepared to tackle the challenge ahead.
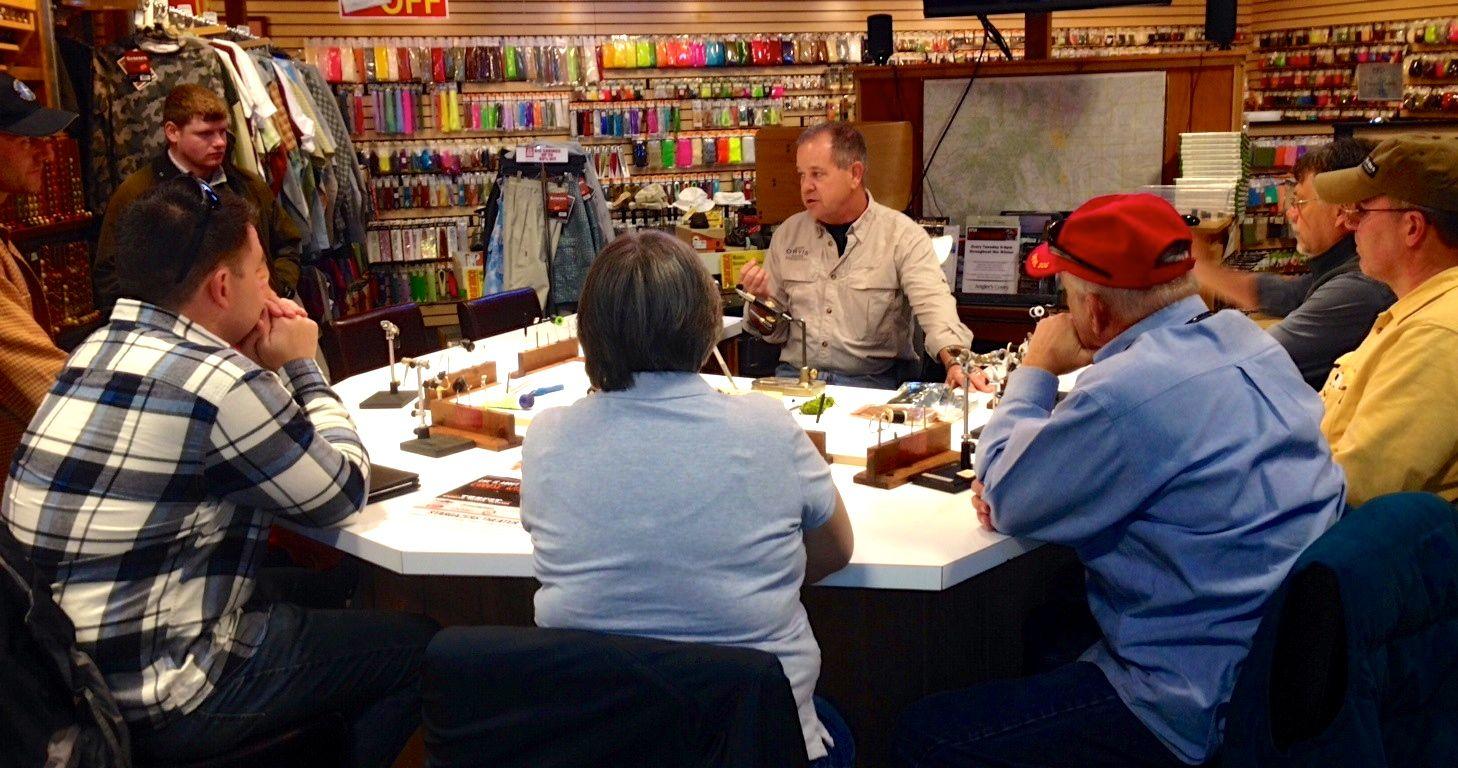 Despite the fear and the clumsy fingers, I found myself behind the vise, sitting at a horseshoe-shaped table with the instructor in the middle of the U taking us through the process. Each of the instructors — Juan Ramirez, Shea Gunkel, Jon Kleis, and Neil Luehring — was excellent in his instructional approach. Like high school teachers, each instructor brought his own personality to his class. Each one seemed to remember what it feels like to take on a new challenge, to be a beginner at something. In their own separate classes, they anticipated where we might have trouble, slowed us down a little bit, and guided us through the tricky parts. They also laughed a long with us when a “whip finish” didn’t really whip or didn’t bring the tying to a finish.
They modeled the moves at each step of the process and gave feedback as they watched us attempt the same move with the thread, our first attempts to wrap the dubbing or the hackle, or our attempts to hold one part of the fly in place as we lashed down another part with the thread. When one of us in the class got stuck (ok, that was me), our instructor would come over, take us through the step again, and coach us as we got it right.
In essence, they were the craftsmen and we were apprentices.
One of the interesting things about learning to tie flies is you get a sense of the varying degrees of difficulty with different patterns. Imagine Olympic diving for a minute. The broadcaster announces that the diver will try a dive with a degree of difficulty of 4.6. So apply that same rating system here. The flies we tied were relatively simple — yet we still worked with flies that required three or four different materials or had two or three different parts to the fly (body, wings, legs).
We didn’t tie a San Juan Worm, for example, that basically has some yarn tied on to a hook (Imagine the Olympic announcer saying “this fly has a degree of difficulty of 1.2”). But we also didn’t try something like an Amy’s Ant with multiple materials and parts (Announcer: “Degree of Difficulty is 8.0”). And we didn’t try tying a fly on a size 18 or 20 or 22 hook. I’m not sure my sweaty hands are ready for that! (Olympic announcer: “Oh, he just didn’t have the speed for that dive and really splashed on the entry!”)
 In Fly Tying 101, we tied a Wooly Bugger. I went twice to the 101 class for reasons I’ll explain a little bit later. The Wooly Bugger was a great starting experience because we worked with a large hook and only a small variety of materials. The fly is basically thread, chenille (which looks like a pipe cleaner only floppy because a thread runs though it rather than wire), and feather for the hackle. In Jon’s 101 class, which I took first, we added a thin wrap of wire to give the pattern a bit more weight and bling. Neil chose not to add that element to the pattern. I got a glimpse into why there are variations of fly patterns; some of the variation may simply be tier’s preference but you might also choose to change a pattern for some utilitarian purpose — like adding more weight.
In Juan’s Fly Tying 201 class, we took on the challenge of tying terrestrials. Now, the nice thing about terrestrials is you use a pretty good-sized hook and some materials that seemed to me a little more forgiving. The stiffer foam and the larger hook seemed manageable even though we were dealing with more parts to the fly. In Juan’s class, we made three terrestrials — an ant, a beetle, and a grasshopper. 
Shea’s 201 class focused on streamers, so we stepped up the size of the hook a little bit. It was a different sort of challenge than the hoppers, though, because the materials were more delicate than the foam used for the terrestrial. The streamers had different layers of materials, too, which increased our degree of difficulty. After we tied our first streamer, Shea had us basically duplicate our efforts and tie an articulated version.

My articulated version appears to be suffering the consequences of myriad pollutants or maybe the tailings from the mines near Leadville. I’ve nicknamed it “the articulated mistake of nature.”

On my most recent Saturday fly tying adventure, I repeated the Fly Tying 101 class with Neil Luehring because I wanted to stay and take the 201 class which immediately followed. Because the focus of the 201 class was dry flies, I wanted to get in a few more repetitions of the basics before I tackled the newest challenge.
So. Dry flies for me increased the degree of difficulty once again. Neil gave us the option of using a #14 or a #16 hook and I opted for the larger one. Even then, the size 14 seemed so small from the previous class’s streamer and terrestrial patterns. And Neil repeatedly mentioned something that became increasingly apparent as the morning progressed: proportion. Wing size has to be proportional to the body. The body has to taper in a more natural way, so your thread and dubbing material has to be spiraled on a bit more meticulously. In short, the dry flies we were tying — Griffith’s Gnat, Elk Hair Caddis, and Neil’s Blue Wing Olive — require more attention to detail than some of the larger flies. And that is not to imply that the larger patterns do not require attention to detail but when you are working on such a small “canvas” of a hook, even tiny mistakes become more apparent.

When I first take on a new challenge I have a couple of issues that work against me. Issue number one: I want to be really good at something really early in the process. That’s not going to happen here. Repetition, coaching, mistakes and trial-and-error are part of the process. To get these fingers more nimble means I need to spend more time at the vise. I need some guidance along the way. And I can’t be afraid to make mistakes.
Which brings me to issue number two: I don’t immediately realize that there are are more-or-less “routine” sorts of mistakes or missteps I’ll make along the way. In fly tying, I’m going to break the thread as I wrap the hook. I’m going to cut the hackle too short or maybe too close to the eye of the hook. My wings may be too long in proportion to the body. I’m going to start the wrap too close to the bend or too far away. Some of the missteps have easy fixes. Some of them … not-so-much. Some mistakes mean I have to start over. It’s all part of the learning process.
I do know this, though. I have five patterns that I want to cast out into the South Platte or the Arkansas and see if a fish will take them. Four of the five — the Wooly Bugger, the streamer, the grasshopper, and the caddis — I feel pretty confident will get a strike. The other streamer, well, it’s an articulated, underfed, feather-covered mistake of nature that may not get the fish’s attention but may get a chuckle out of one of Decker’s Brown Trout.
I’ll cast them out there anyway. After all, I made them with my own two hands. My two awkward, sweaty, 56-year old hands.

Click here to explore Angler’s line-up of fly tying classes.
![]()